Beginner’s Guide to DSLR Photography with the Canon Rebel XSi
Choosing the Canon Rebel XSi
As a beginner photographer on a limited budget, I sought a reliable and affordable DSLR to start with. After researching various options, I opted for a used Canon Rebel XSi due to its solid reputation as an entry-level camera, affordability, and availability of secondhand lenses and accessories.
Learning About Your Camera
To familiarize myself thoroughly with the Canon Rebel XSi, I began by delving into the user manual provided by Canon. This comprehensive guide laid out the technical specifications and operational details of the camera, covering everything from basic setup to advanced shooting techniques.
In addition to the manual, I turned to online resources that offered specific tutorials tailored to the Canon Rebel XSi. Platforms like YouTube provided a wealth of video guides that walked through each feature and function of the camera step-by-step. These tutorials were invaluable in visualizing how to navigate menus, adjust settings, and maximize the capabilities of my new gear.
Further enhancing my understanding, I explored articles and blogs dedicated to DSLR photography, particularly those focusing on the Rebel XSi model. These resources provided practical tips and troubleshooting advice, helping me overcome initial challenges and make the most of my shooting experience.
The book “Canon Rebel XSi/450D for Dummies” became my go-to reference, offering clear explanations and practical insights into mastering the camera’s controls and settings. This guidebook not only simplified complex concepts but also empowered me to experiment confidently with different shooting scenarios.
First Impressions and Initial Challenges
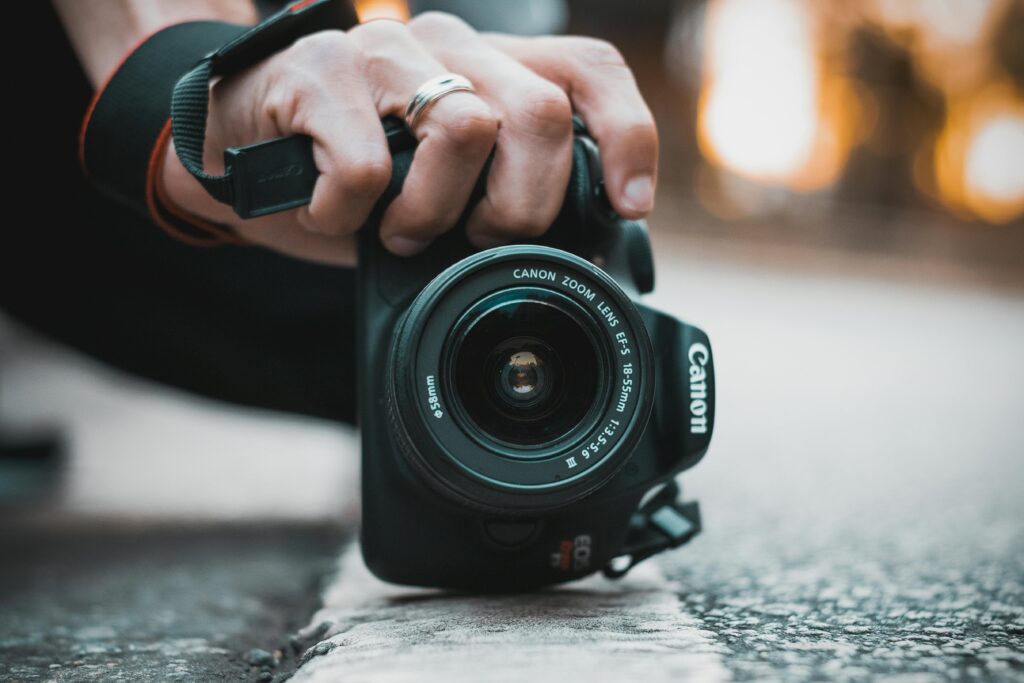
Upon receiving the Canon Rebel XSi, my first impressions were overwhelmingly positive. The camera’s ergonomic design felt comfortable in hand, with well-placed controls that were intuitive to navigate. The lightweight body made it easy to carry around, ensuring I could capture moments effortlessly without feeling burdened by the equipment.
However, as with any new piece of technology, understanding the intricacies of shooting modes and adjusting settings like aperture, shutter speed, and ISO presented initial challenges. The transition from point-and-shoot cameras to a DSLR required a learning curve, particularly in grasping concepts such as depth of field and exposure control.
Navigating through the various shooting modes—ranging from fully automatic to manual—was crucial in honing my photography skills. While automatic modes provided a convenient starting point, I soon ventured into semi-automatic modes like aperture priority (Av) and shutter priority (Tv). These modes allowed me to control specific aspects of exposure while letting the camera handle others, gradually building my confidence in capturing well-exposed images.
Favorite Features and Settings

Throughout my learning journey, the Canon Rebel XSi impressed me with its range of features tailored for beginners and enthusiasts alike. Automatic and semi-automatic shooting modes proved invaluable, providing a seamless transition into DSLR photography while allowing room for creative exploration.
The camera’s image quality exceeded expectations for an entry-level model, capturing vibrant colors and sharp details that brought my photos to life. The ability to interchange lenses opened up a world of creative possibilities, enabling me to adapt to different environments and photographic styles effortlessly.
Live View mode emerged as a favorite feature, offering a real-time preview of compositions on the LCD screen. This feature proved especially useful when shooting from unconventional angles or in tight spaces where using the viewfinder was impractical. Meanwhile, the built-in flash provided reliable illumination in low-light conditions, ensuring I could capture clear and well-lit shots without the need for additional lighting equipment.
Photography Techniques and Experiments
As I grew more familiar with the Canon Rebel XSi, I eagerly delved into various photography techniques to expand my creative repertoire. Experimentation became key, as I ventured into long exposures to capture motion blur, experimented with shallow depth of field to isolate subjects, and explored HDR (High Dynamic Range) photography to enhance details in high-contrast scenes.
While these techniques presented challenges—such as mastering exposure settings and achieving desired effects—they also fostered a deeper understanding of light, composition, and camera control. Each experiment served as a learning opportunity, pushing me to refine my skills and develop a personal style behind the lens.
Editing and Enhancing Photos
Post-processing played a crucial role in refining and enhancing my photography. Using Adobe Lightroom, I fine-tuned exposure levels, adjusted colors, and balanced contrasts to achieve the desired look and feel in each image. Photoshop proved invaluable for more intricate edits, allowing me to remove distractions, enhance details, and apply creative effects to elevate my photos further.
Benchmark Comparison of Entry-Level DSLR Cameras
| Feature / Model | Canon EOS Rebel T7 | Nikon D3500 | Canon EOS Rebel T8i | Nikon D5600 | Canon EOS Rebel SL3 | Nikon D3400 | Sony Alpha A6000 | Pentax K-70 | Olympus OM-D E-M10 Mark IV | Fujifilm X-T200 |
|---|---|---|---|---|---|---|---|---|---|---|
| Sensor Resolution | 24.1 MP | 24.2 MP | 24.1 MP | 24.2 MP | 24.1 MP | 24.2 MP | 24.3 MP | 24.2 MP | 20.3 MP | 24.2 MP |
| ISO Range | 100-6400 | 100-25600 | 100-25600 | 100-25600 | 100-25600 | 100-25600 | 100-25600 | 100-102400 | 200-25600 | 200-12800 |
| Autofocus Points | 9 | 11 | 45 | 39 | Dual Pixel CMOS AF | 11 | 179 | 11 | 121 | 425 |
| Continuous Shooting | 3 fps | 5 fps | 7 fps | 5 fps | 5 fps | 5 fps | 11 fps | 6 fps | 8.6 fps | 8 fps |
| Video Resolution | Full HD (1080p) | Full HD | 4K UHD (2160p) | Full HD | 4K UHD (2160p) | Full HD | Full HD | Full HD | 4K UHD (2160p) | 4K UHD (2160p) |
| Viewfinder Type | Optical | Optical | Optical | Optical | Optical | Optical | Electronic | Optical | Electronic OLED | Electronic |
| LCD Screen Size | 3.0 inches | 3.0 inches | 3.0 inches | 3.2 inches | 3.0 inches | 3.0 inches | 3.0 inches | 3.0 inches | 3.0 inches | 3.5 inches |
| Built-in Wi-Fi | Yes | Yes | Yes | Yes | Yes | Yes | Yes | Yes | Yes | Yes |
| Bluetooth | Yes | Yes | Yes | Yes | Yes | No | No | No | Yes | Yes |
| External Mic Jack | No | Yes | Yes | Yes | Yes | No | Yes | Yes | Yes | Yes |
| Weight (Body only) | 475 g | 415 g | 515 g | 465 g | 449 g | 395 g | 344 g | 688 g | 383 g | 370 g |
| Battery Life (CIPA) | 500 shots | 1550 shots | 800 shots | 970 shots | 1070 shots | 1200 shots | 360 shots | 410 shots | 360 shots | 270 shots |
Personal Anecdotes and Experiences
One memorable moment with the Canon Rebel XSi was capturing a breathtaking sunset during vacation. The camera’s settings allowed capturing vibrant colors and details effectively. Another instance was at an indoor event, where adjusting settings for low light taught the importance of adapting to different conditions.
Additional Photography Tips

- Use the rule of thirds for better composition.
- Experiment with angles and perspectives.
- Use a polarizing filter for glare reduction.
- Try manual mode for full control.
- Use live view for easier focusing.
Future Goals
Aspirations include exploring new genres and upgrading equipment.
Resources and Further Reading
Resources for Canon Rebel XSi users include :
Canon Rebel XSi/450D for Dummies.
The Ultimate Beginners Guide to Wildlife Photography: From Taking a Shot to Capturing a Moment

Hi, this is a comment.
To get started with moderating, editing, and deleting comments, please visit the Comments screen in the dashboard.
Commenter avatars come from Gravatar.